
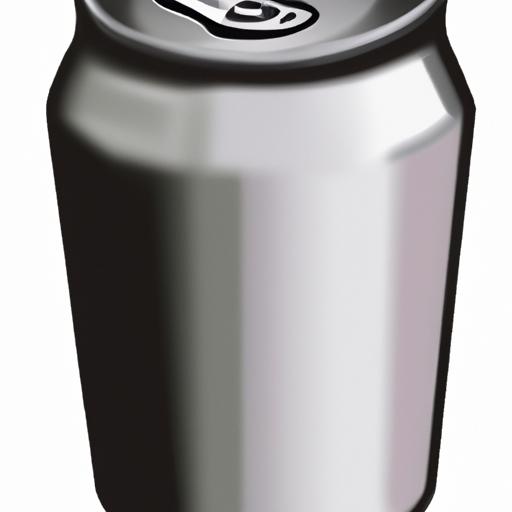
Are you looking to improve your drawing skills, but don’t know where to start? Drawing a soda can is an excellent place to begin. Not only is it a simple object to replicate, but it also provides an opportunity to hone your shading and perspective skills.
The ability to draw a soda can is an essential skill for artists of all levels. Whether you’re a beginner or a professional, learning how to draw a soda can will help you develop your abilities and take your artwork to the next level.
In this article, I will provide a step-by-step guide on how to draw a soda can. From the materials needed to common mistakes to avoid, this article will give you all the information you need to create a realistic and impressive soda can drawing. So, grab your pencils and let’s get started!
Step-by-Step Guide
Drawing a soda can may seem daunting at first, but with a step-by-step guide, it can be an enjoyable and rewarding experience. Follow these simple steps to create a realistic and impressive soda can drawing:
Step 1: Sketch the Basic Shape
- Begin by sketching the basic shape of the soda can using a light pencil.
- Pay attention to the proportions and ensure that the height and width of the can are accurate.
Step 2: Add Details
- Once you have the basic shape, add the details such as the top and bottom rims, the tab, and any text or logos on the can.
- Take your time and ensure that each detail is accurate and proportional.
Step 3: Add Shading
- Shading is essential in creating a realistic soda can drawing.
- Add shading to the can by using a variety of pencils, from light to dark, to create depth and dimension.
- Pay attention to the light source and ensure that the shading is consistent throughout the drawing.
Step 4: Refine the Drawing
- Once you have the basic shape, details, and shading, refine the drawing by erasing any unnecessary lines and adding any final details.
- Take a step back and ensure that the drawing looks accurate and proportional.
By following these simple steps, you can create a realistic and impressive soda can drawing. Don’t be afraid to experiment with different techniques and add your personal flair to the drawing.
Tips and Tricks

Drawing a soda can may seem like a simple task, but there are a few tips and tricks that can make the process much more manageable. Here are some helpful hints to keep in mind:
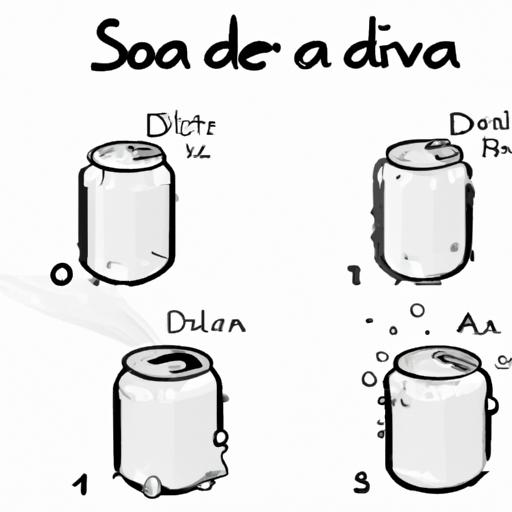
1. Start with Simple Shapes
When starting your soda can drawing, begin with simple shapes. Use circles and ovals to create the basic structure of the can. Then, gradually add details such as the ridges and curves.
2. Use Reference Images
Using reference images is an excellent way to ensure that your drawing is accurate and realistic. Take a photo of a soda can or search for an image online to use as a reference.
3. Practice Shading Techniques
Shading is an essential aspect of any drawing, and it can make your soda can drawing more realistic. Experiment with different shading techniques, such as cross-hatching and blending, to find the best approach for your drawing.
4. Don’t Be Afraid to Make Mistakes
Making mistakes is a natural part of the drawing process. Don’t be afraid to make mistakes as you work on your soda can drawing. If you don’t like a particular line or shading, simply erase it and try again.
5. Add Personal Flair
While it’s essential to create a realistic soda can drawing, don’t be afraid to add your unique personal flair. Experiment with different colors and shading techniques to make your drawing stand out from the crowd.
By following these tips and tricks, you’ll be well on your way to creating a realistic and impressive soda can drawing. Remember to practice regularly and have fun with the process.
Common Mistakes to Avoid
When learning how to draw a soda can, it’s easy to fall into common mistakes that can hinder your progress. Here are some of the most common mistakes artists make when drawing soda cans and how to avoid them:
H3: Mistake 1: Incorrect Proportions
One of the most common mistakes when drawing soda cans is getting the proportions wrong. It’s essential to get the height and width of the can accurate, or it can throw off the entire drawing.
To avoid this mistake, start by sketching the outline of the can with light lines. Then, check the proportions by comparing the can’s height to its width. You can also use the grid method to ensure that the proportions are correct.
H3: Mistake 2: Incorrect Shading
Shading is an essential part of drawing a soda can. However, it’s easy to overdo it, resulting in a drawing that looks unrealistic.
To avoid this mistake, practice shading in a separate sketchbook or piece of paper. Start by shading lightly, and then gradually build up the layers. Remember that the light source is crucial when shading, and it’s essential to keep it consistent throughout the drawing.
H3: Mistake 3: Incorrect Perspective
Perspective is crucial when drawing soda cans. Without it, the drawing can look flat and lifeless.
To avoid this mistake, start by sketching the can in a 3D box using perspective lines. This will help you understand how the can looks in space and ensure that the perspective is accurate. Remember that the closer an object is to the viewer, the larger it appears.
By avoiding these common mistakes and practicing regularly, you can improve your soda can drawing skills and take your artwork to the next level.
Conclusion
In conclusion, learning how to draw a soda can is an excellent way to improve your drawing skills. By following this step-by-step guide and using the correct materials, you can create a realistic and impressive soda can drawing.
Remember to take your time and practice regularly. Don’t be discouraged by mistakes or imperfections, as they are a natural part of the learning process. With patience and practice, you will improve your drawing skills and create beautiful artwork.
I hope this article has provided you with valuable insights on how to draw a soda can. If you have any questions or feedback, feel free to leave a comment below. Happy drawing!